How to make recorder covers
Making recorder covers is a wonderful summer project to hone sewing skills and do something to help our world!
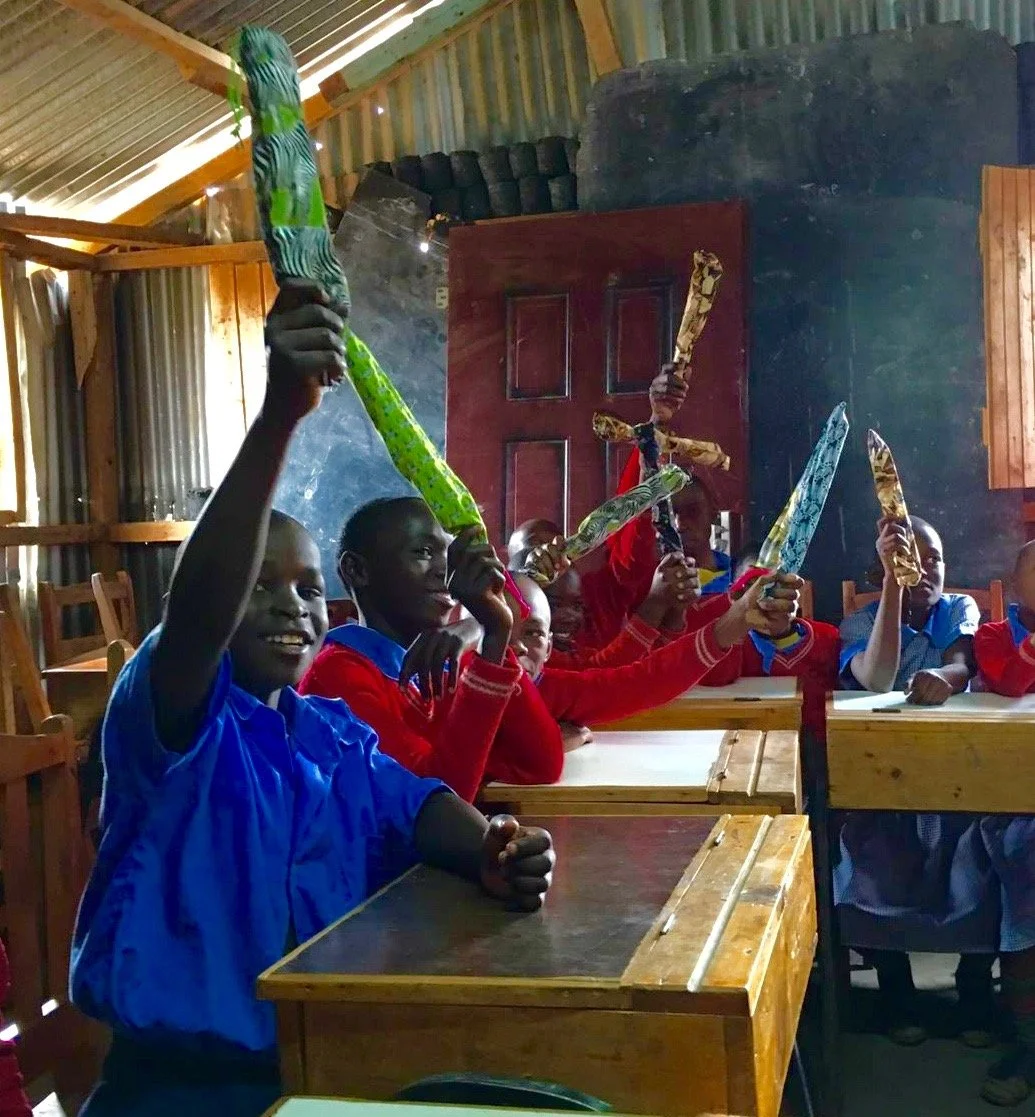
Children in Kenya have few material possessions. Not only are they extremely grateful for their first musical instruments - recorders, they are delighted by the handmade covers and the love that goes into their creation.
Select durable fabrics - cotton, denim, and light weight corduroy or upholstery fabric work well. All children love brightly colored fabrics with whimsical patterns. Themes like animals, bugs, soccer, nature are sure to delight! In the spirit of recycling, you might consider using fabric scraps from previous projects.
Materials
For each cover you will need
a piece of fabric that is 16 inches tall and 7 inches wide
a 16 inch piece of nylon cord
an iron
ironing board
a sewing machine
thread
chopstick or unsharpened pencil
a safety pin
Instructions
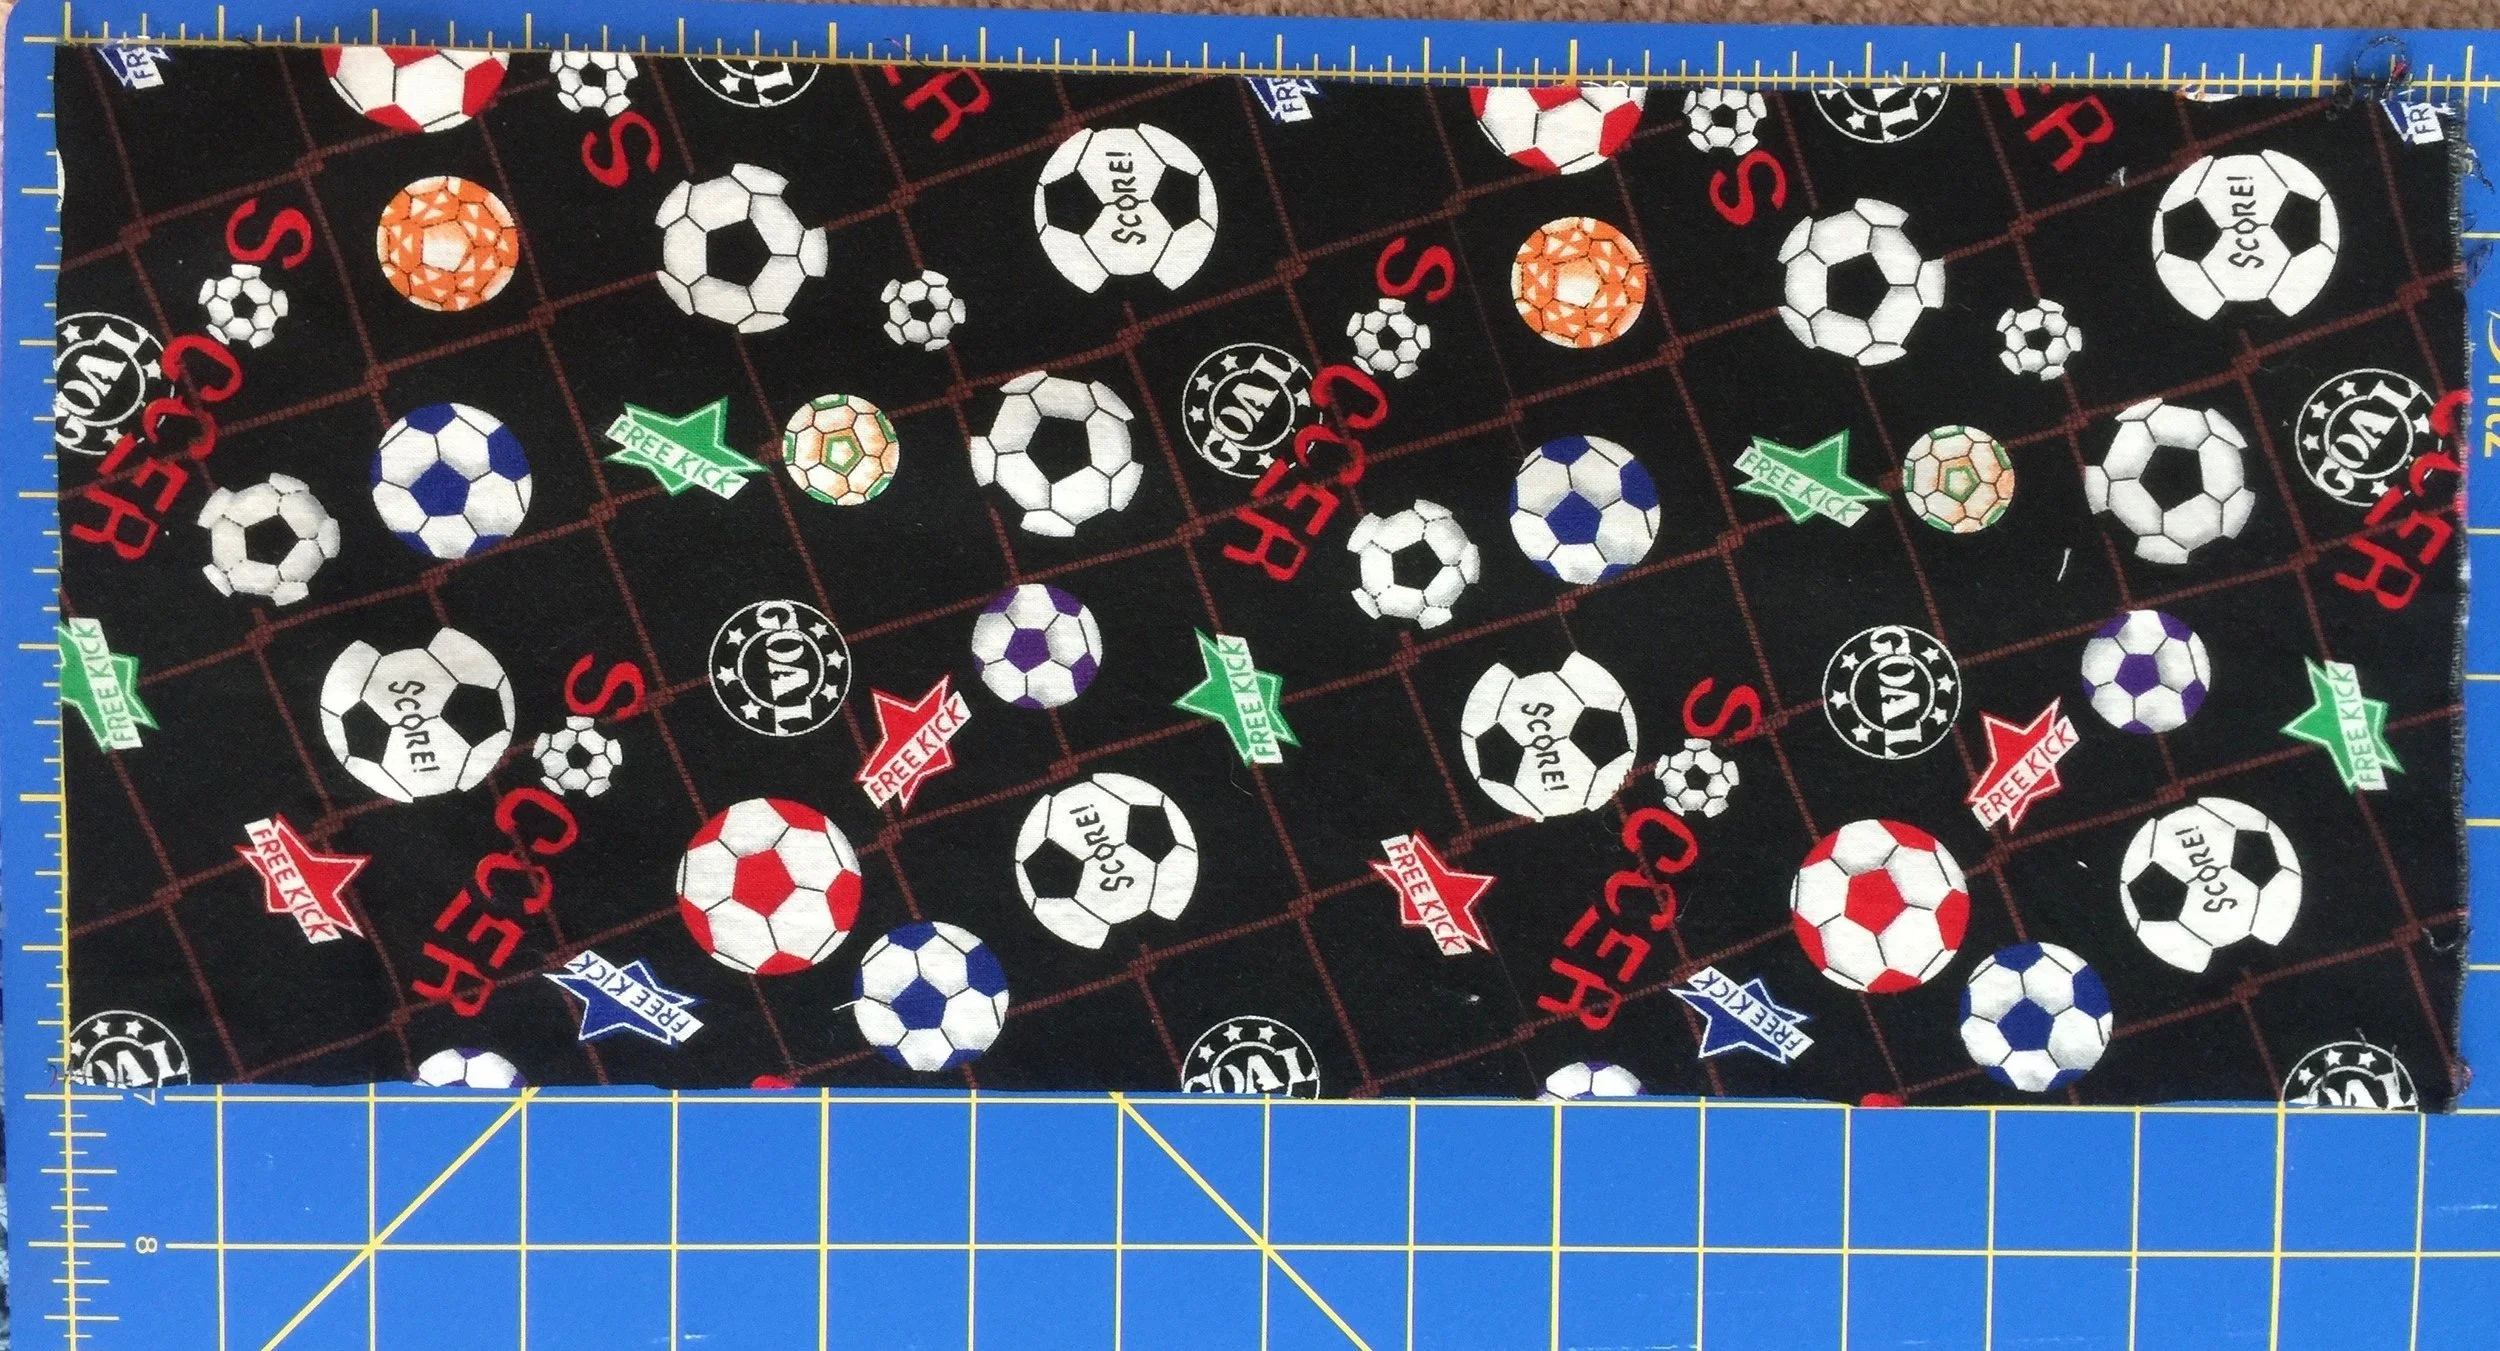
1. Cut the fabric into a rectangle 16 inches tall and 7 inches wide.
2. From the top, fold about 1/2 “of the right side of the fabric over. Using an iron, press to make a crease.
3. Sew a 3/8 inch seam along the top. The finished size should be about 3 inches wide by 15 inches tall.
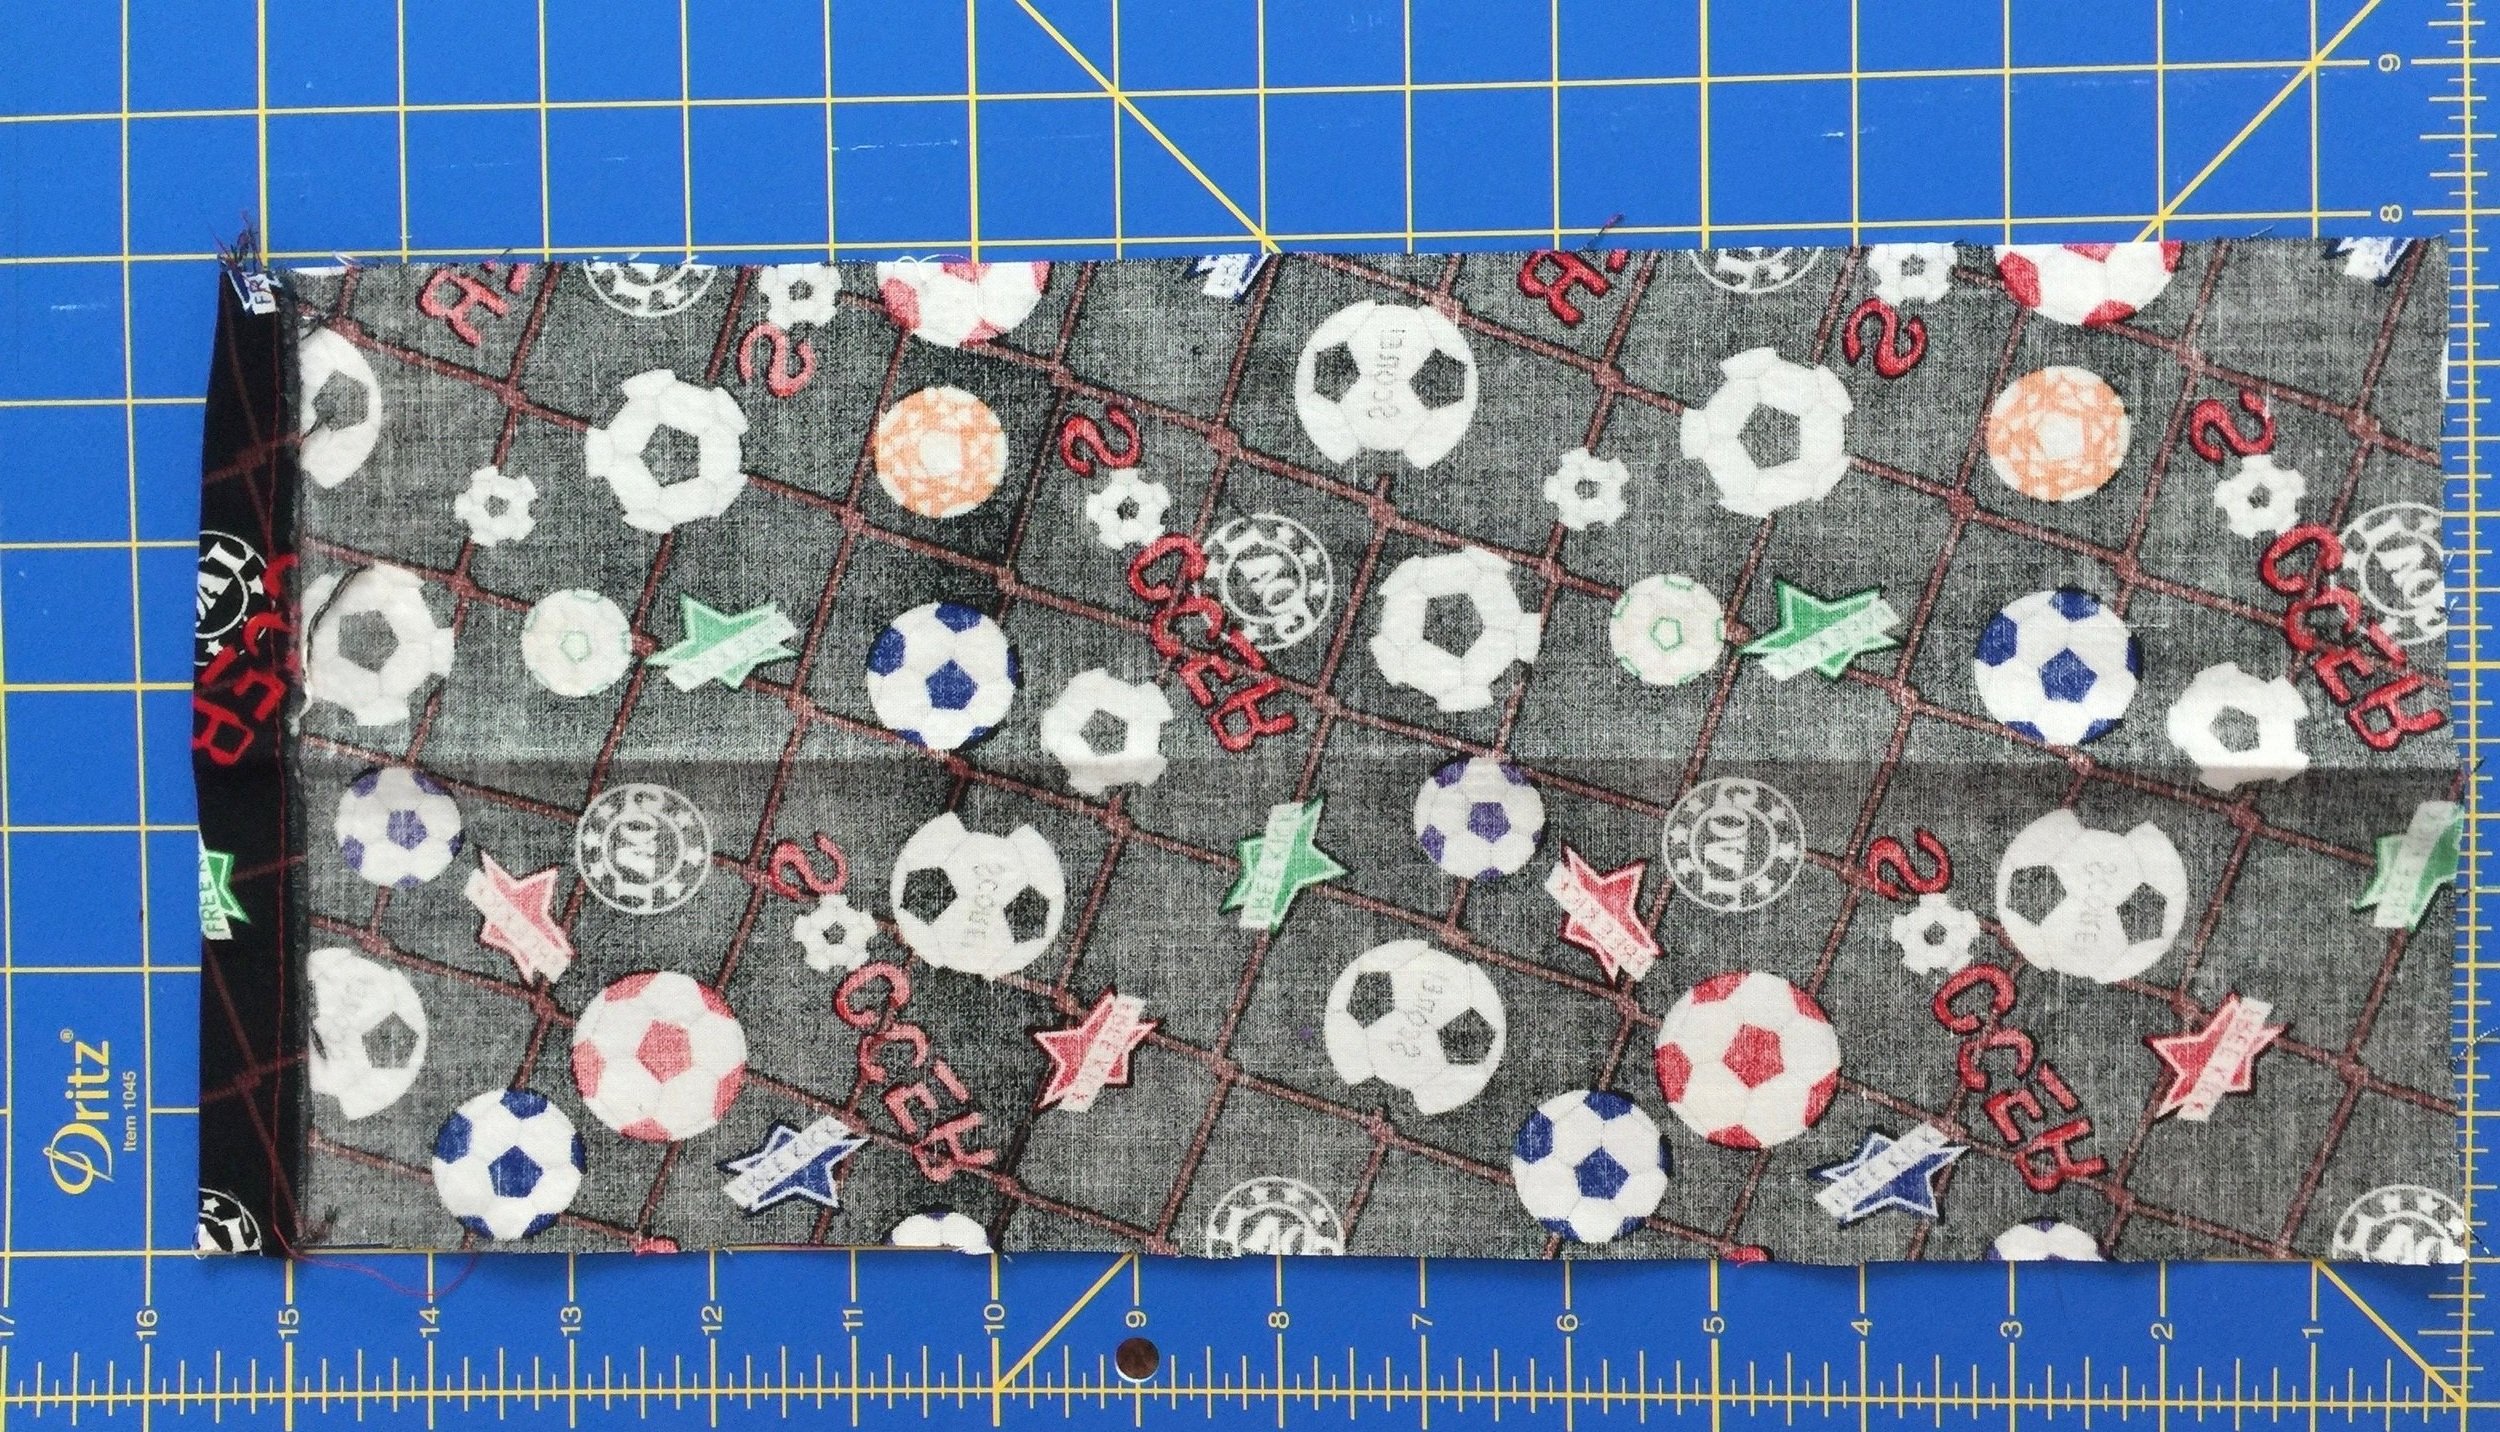
4. Fold vertical right sides together. Press.
5. Starting at the upper right hand corner just below the folded edge (about 1/2 inch from the top). Begin to sew. Backstitch. Then sew a 1/2 inch seam down the long side stopping 1/2 inch from the bottom. Turn the corner and then sew to the end. Backstitch.
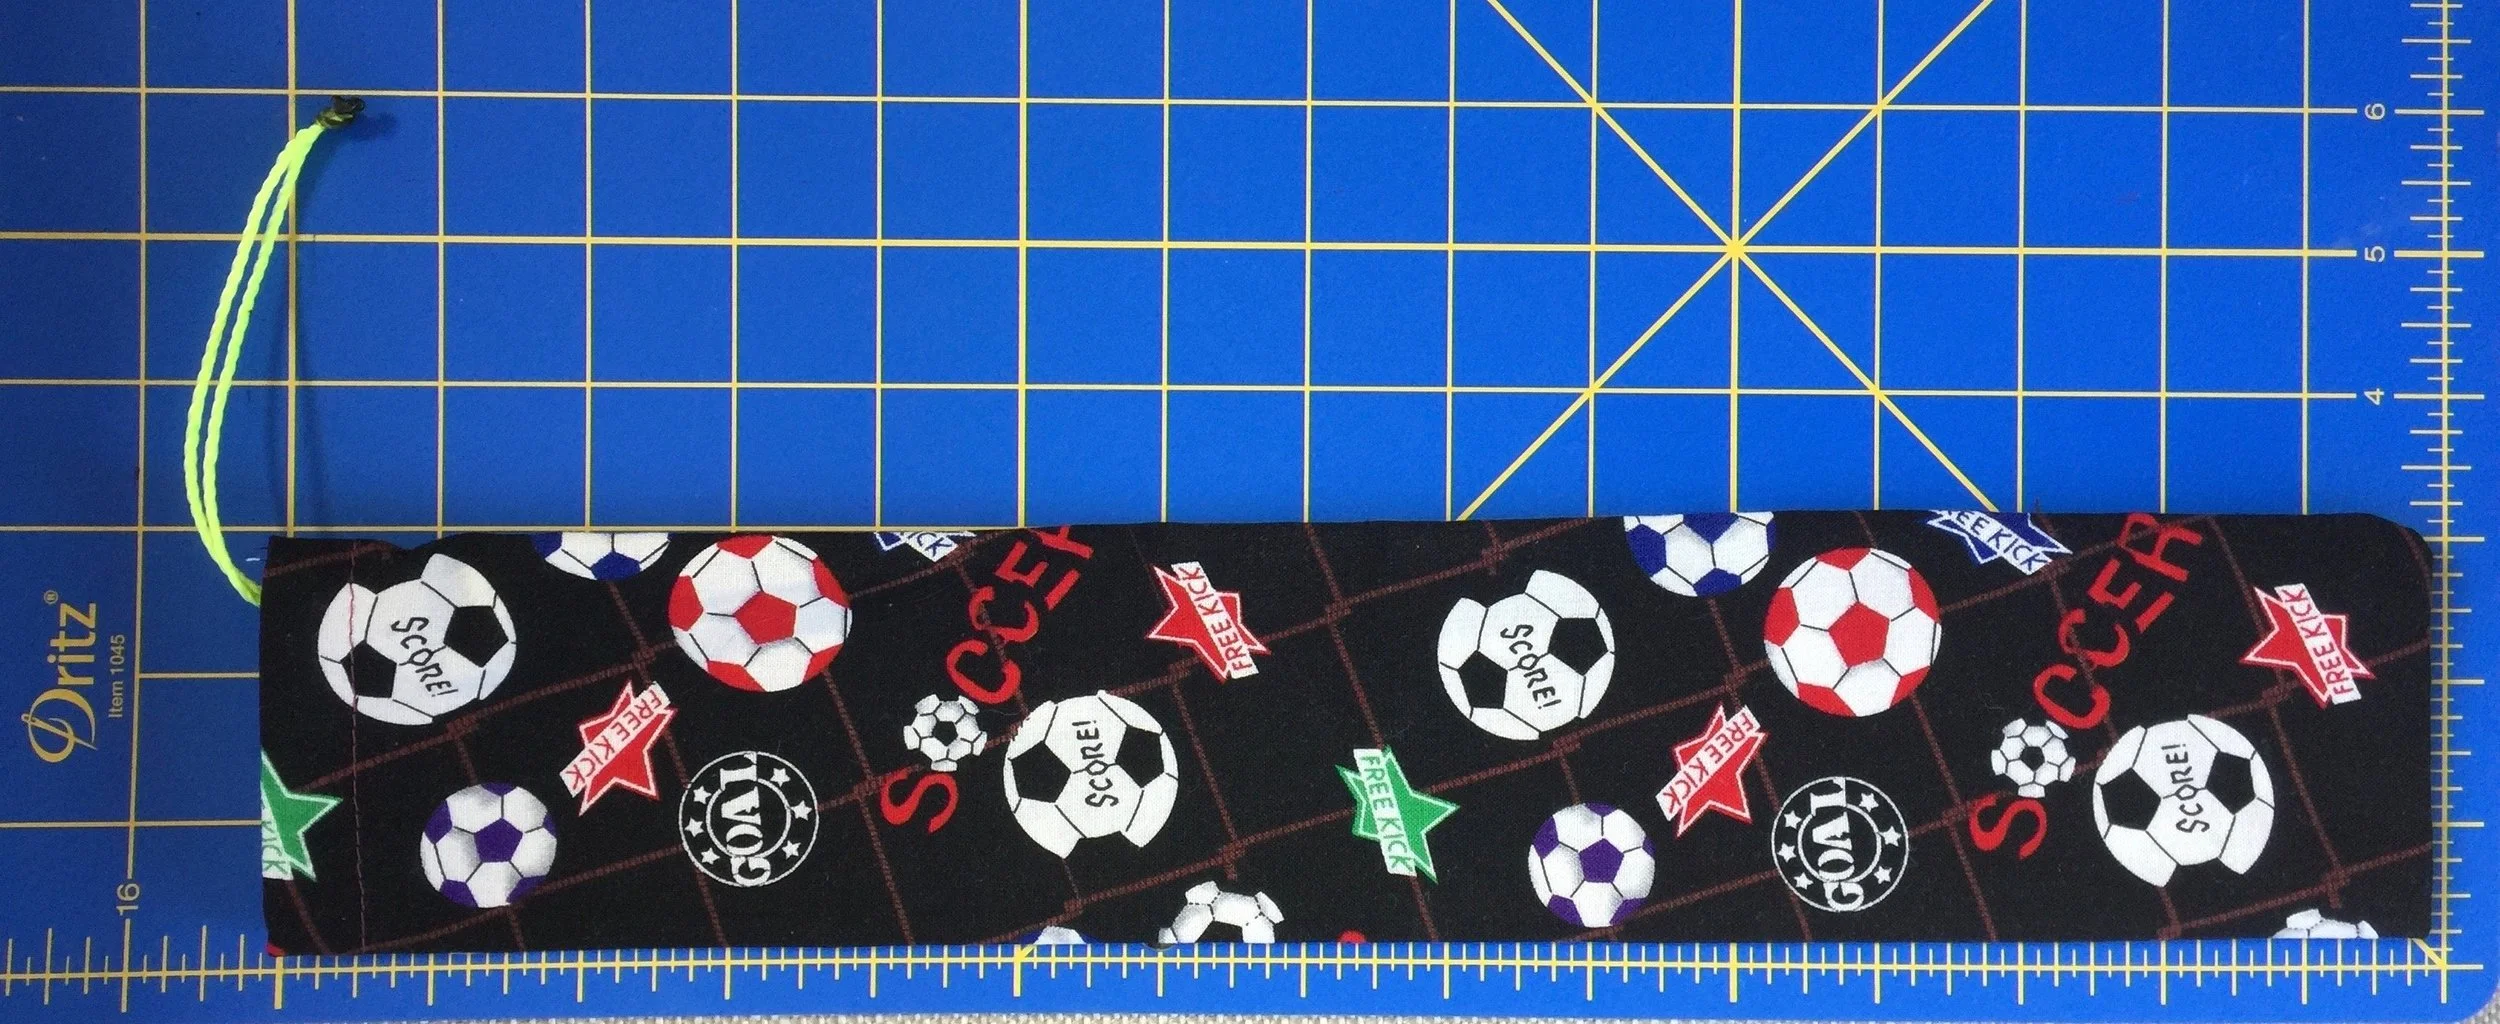
6. Turn the cover right side out. Use a chopstick or an unsharpened pencil to poke out corners.
7. Burn the ends of the nylon cord before threading so it doesn't fray. Thread the cord through the channel. A safety pin is helpful. Tie ends. Insert Photo: RC 5
Completed recorder covers can be sent to us at any time!
